Car Seat Canopy

Pick a few different fabrics that you would like to use. I chose two different fabrics.
.jpg)
You will want 1 yard of the "top facing fabric" and about a 1 & 1/2 of the "bottom facing fabric".
Trim around the edges so you have anywhere from 2-3 inches all around the top fabric and now you can begin!

1. Bind the two fabrics together by folding the edges up and tucking raw edge underneath to leave a clean smooth edge.
2. Create neat corners by tucking extra material into a 45 degree angle.
3. Next you will top stitch around the binding to keep it in place.


4. Next you will make the straps by taking about 5'' X 8.5" of the leftover "bottom facing fabric".
5. Fold the strips inside out and sew down the open (long) side. Turn right side out.
6. Tuck in ends till the strips are only 8'' and top stitch around the whole strip on both straps.


7. Now that you have created the straps you will add them to the actual canopy.
8. Place each strap in the middle of the canopy about 6 inches in between them.
9. Sew them to the canopy using about a 1 & 1/2 square of stitching.


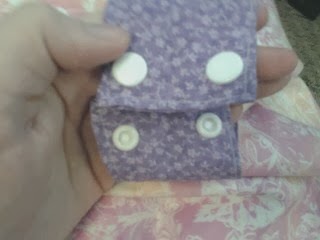
10. It's time to add buttons, snaps, or Velcro to complete your straps. (you can do this step before or after you sew on the strap. It's your choice!)
11. I used snap buttons. I bought the snap buttons at Joann Fabrics. I also bought the tool to apply them at Joann's as well.
You can choose to stop here and have a beautiful car seat canopy or you can continue a few steps further and create a "peek-a-boo window".
.jpg)
.jpg)
If you choose to make a "peek-a-boo" window continue these next steps:
12. Lay the canopy flat and pin a square the size you want your window to be and where you want it placed. (I just used printer paper cut to approximately 8" X 9" and used this as a guide)
13. Sew around the piece of paper creating a stitched square and remove the pinned paper
14. Create a smaller square about 6" X 7" pin the smaller in the center of the stitched square. Use the paper square as a guide to CUT out a window gap.
*Unfortunately I didn't take many pictures of this process but hopefully you get the idea
The below picture was the start to me cutting out my square.

In the above picture you see a gap between the cover square and the window.
15. Initially when you cut out the cover square it will fit perfectly in the window. There will be about 1'' of material left from the stitch to the free edge of the material. Just like the binding of the canopy you will tuck the free edges in toward the stitching, pin, and top stitch creating a nice neat edge.
16. Next you will take the cover square that was cut from the window and you will add a 2'' border (very similar to binding the canopy or a blanket). 

17. Tuck corners into 45 degree angles to make neat edges and corner transitions.
18. Now you can add the window cover to the canopy. Top stitch the top of the cover flap to the top of the canopy window.

You have now completed a beautiful car seat canopy with a Peek-a-Boo window to see your beautiful baby's face and let in a little fresh air for your young one!! Great for a sunny summers day or a trip to the grocery store where you don't want every single person looking and breathing on your newborn infant, or even to create a little shade for your baby to nap while they are being toted around.


No comments:
Post a Comment